Creating a Basic Website
Softwares Used
Here are the few softwares which I have used for the process:
- BootStrap
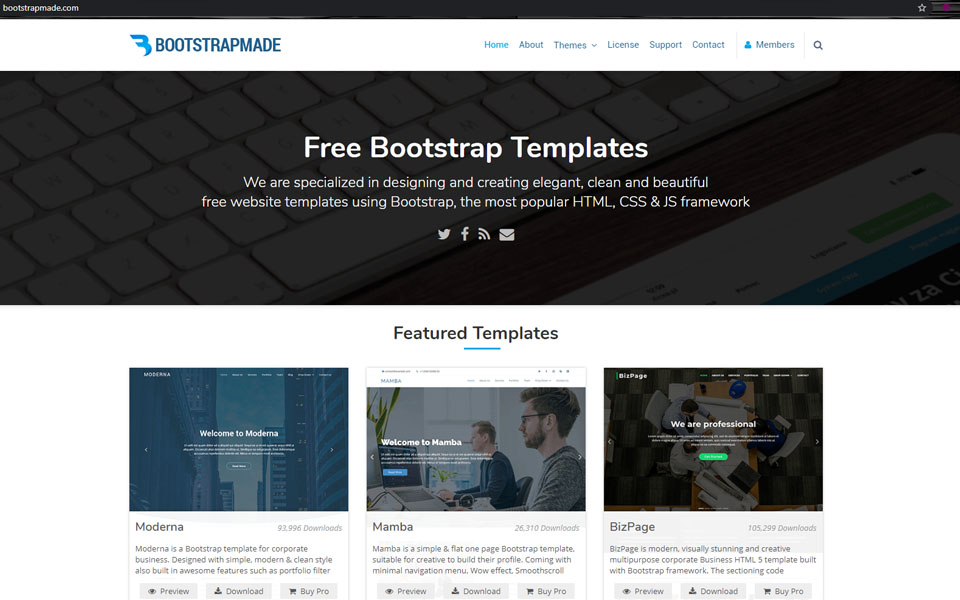
Bootstrap is a open source website which provides web templates for personal and professional use. I downloaded Devfolio Template form Bootstrap and edited it for personal use.
- Adobe Dreamweaver
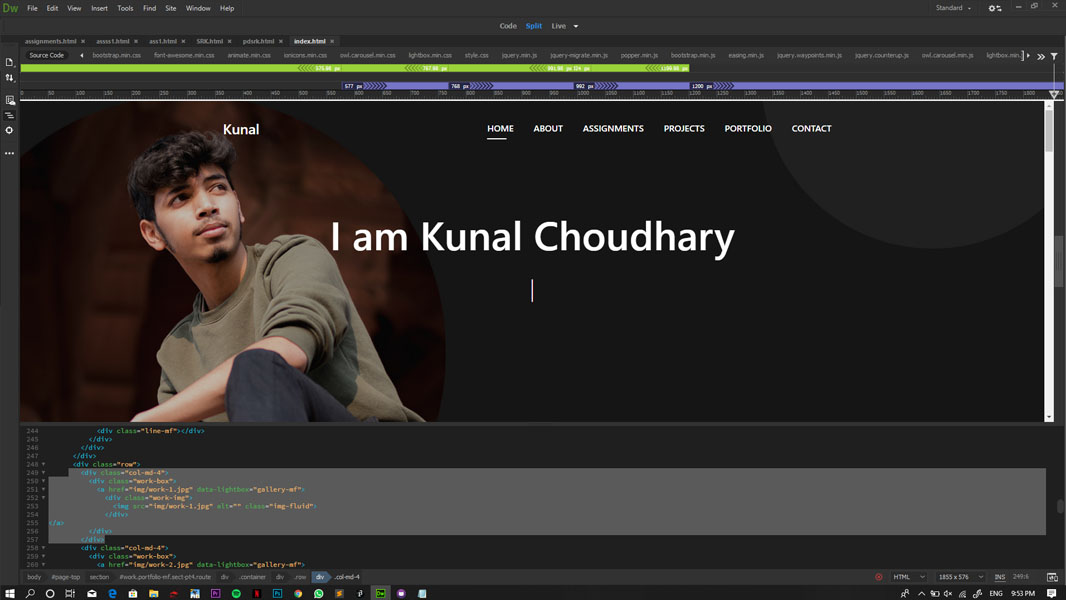
For editing the html files, a text editor is needed and dreamweaver seems to be a good web editor. We can edit code and other elements in dreamweaver easily with live preview.
- MAMP
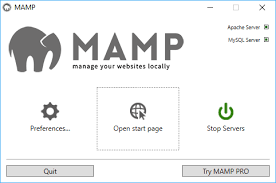
MAMP stands for ‘Mac Apache MySQL PHP’. It is used to test the files on our local browser before we upload it on the actual server. This is extremely helpful because uploading files again and again on the server is time consuming. MAMP gives instant editing results.
- WinSCP
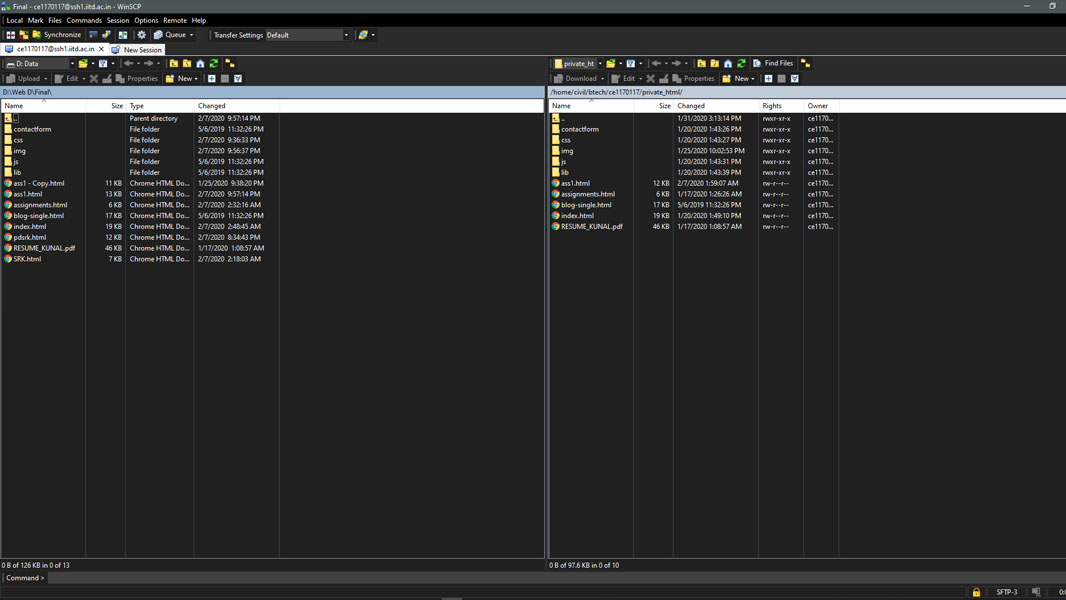
WinSCP is a free and open-source client for Microsoft Windows. Its main function is secure file transfer between a local and a remote computer.
Basic HTML Tags
- Paragraph Tags <p></p>
Used for paragraph spacing
Eg: <p> This is a paragraph </p>
- Break Tag <br>
Used for pushing the text to next line
Eg : <p> This is an Example of <br> </p>
- Heading Tags <h#>
Used for different sized headlines varying from <h1> being the largest to <h6>, the smallest
Eg : <h1> This is a heading </h1>
For Adding Media
- Image Tag
Eg: <img src="images/picture_name.jpg"
- Video Tag
Eg: <video width="200px" height="" controls autoplay>
<source src="videos/video_name.mp4" type="video/mp4">
</video>
- For Adding Youtube Videos :
- Go to the video
- Click on the share button for the particular video
- Click on ‘Embed’ to get the autogenerated html code
- Copy and paste it in the required place
Editing the HTML Files
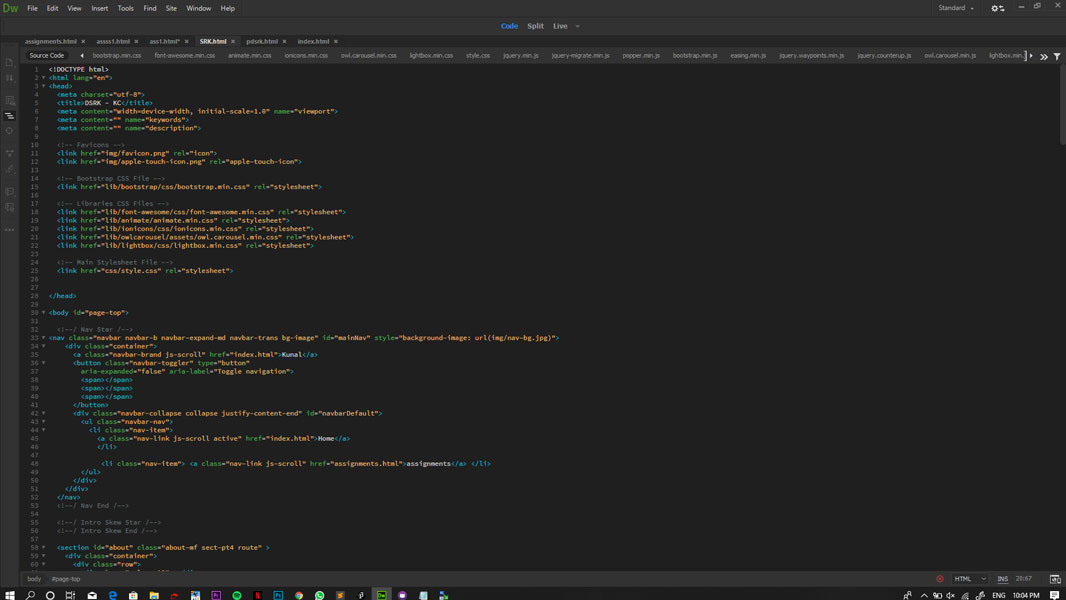
Different files used for the website development are:
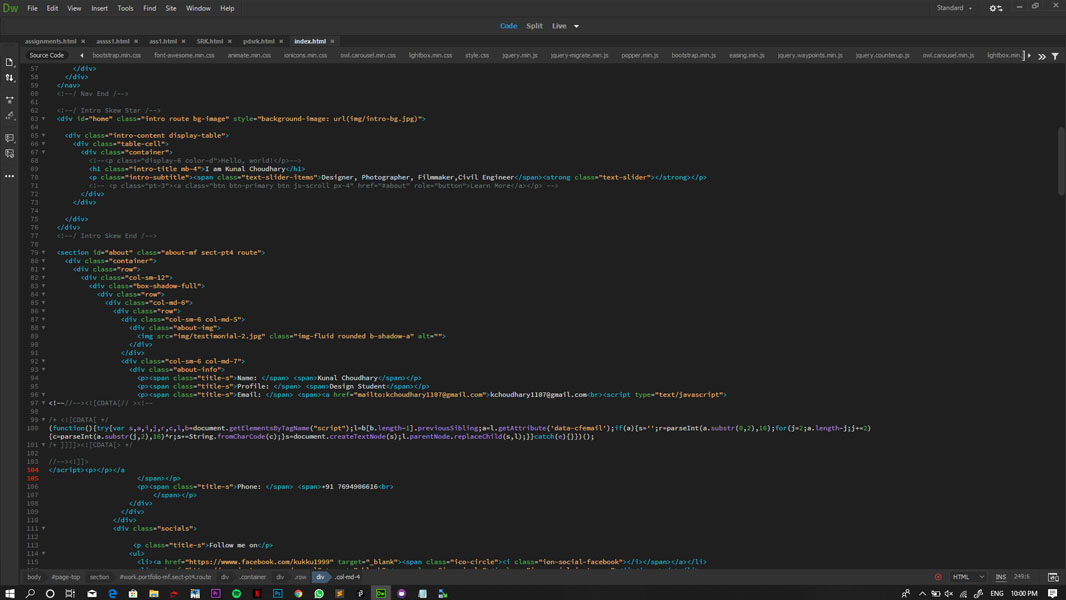
- index.html
Homepage of the website.
- about.html
Basic details about myself

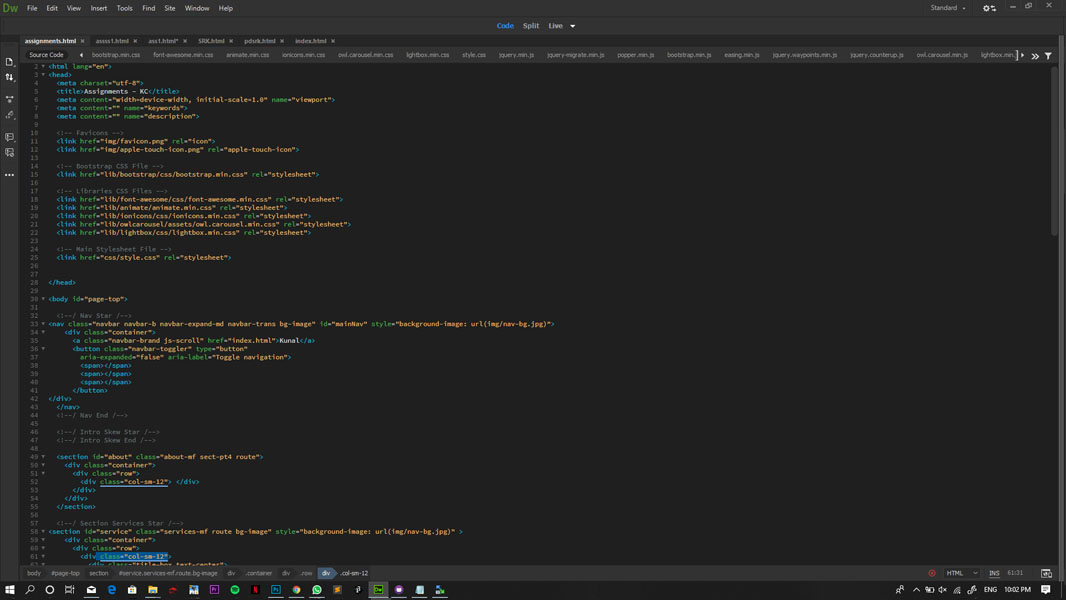
- assignments.html
Different assignments are added here with link to its html file
- project.html
Details regarding the project proposal and the final project
Compressing Images and Videos
Since I've been using photoshop for a long time, I felt Adobe Photoshop as the easy tool for compressing images to upload in website without compromising much on the quality of the image.
Apart from photoshop I learnt to use imagemagick software in which we can compress image in batches which will make our work much easier and faster without much learning about high end software like photoshop.
Steps to compress images
1) Create a folder, say compress_images (Do it in a folder where permissions to write there: C:/Users/kunal)
2) On command prompt: cd compress_images
3) Place images to be compressed in this folder.
Commands to compress images one by one:
magick -quality 20 home_web.jpg home_web_cmp.jpg magick home_web.jpg -resize 20% home_web_resized.jpg
Commands to compress images in batches:
Create a batch file with the command
@echo off for %%f IN (*.jpg) DO magick -quality 20 "%%f" "%%f"
in it and run it on the folder with all the images that needs to be compressed.
Compressing Videos
Similarly you can use imagemagick for video conversion and compression. I used this software to compress the video as well as to change the file type to mp4 to upload in youtube.
